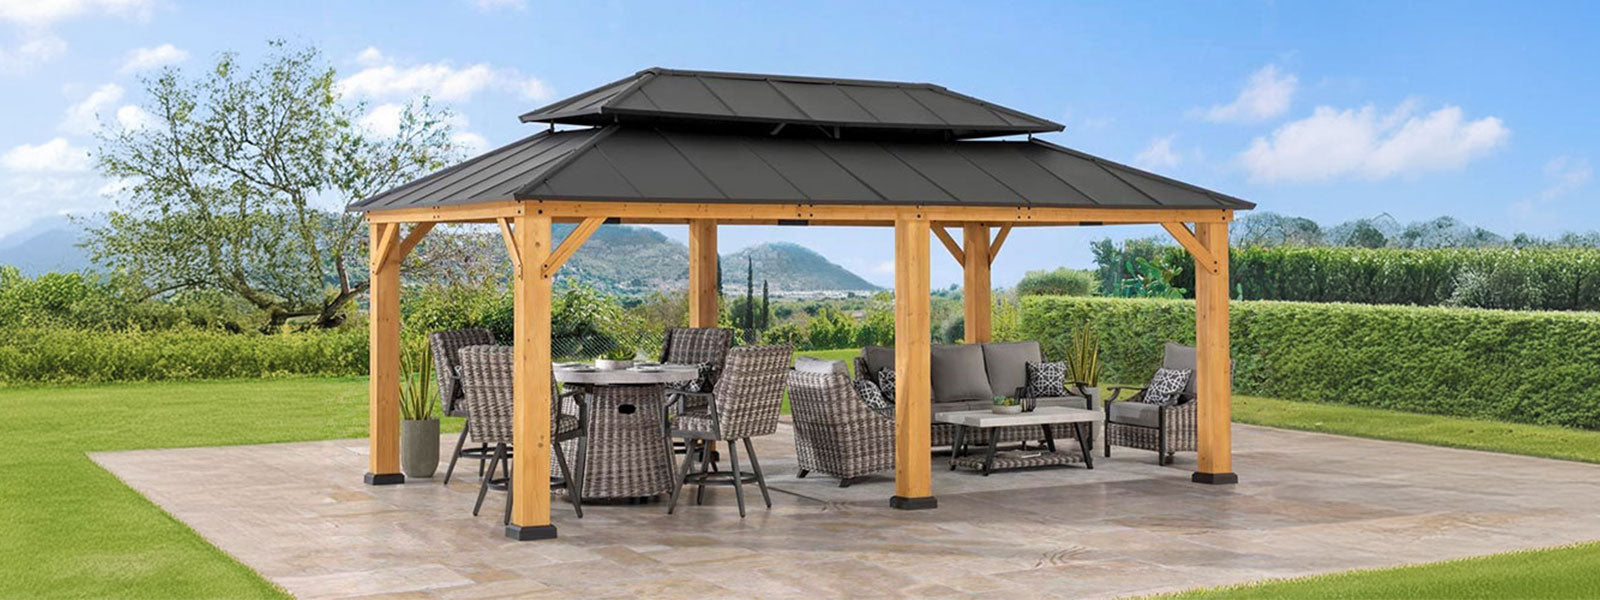
When Ordinary Gazebos Don’t Cut It
I still remember setting up a market stall in Petone last summer and watching a neighbour’s roof flap away like a dodgy flag—proper gutting. At a coastal popup where I was trading, 4 out of 10 gazebo units failed under 70 km/h gusts; given that data, which fixes actually make a meaningful difference for your Outdoor Gazebo (sweet as)? I recommend starting with a robust gazebo tent but that’s only the baseline.

I’ve been selling and specifying canopy systems for over 15 years, and I’ve seen the same weak points: flimsy joints, cheap UV-resistant fabric that goes brittle, and anchors that were never matched to the site’s wind load. One specific case—March 2021, Wellington waterfront—I sold a 3x3m powder-coated aluminium gazebo that outperformed cheaper galvanised steel rivals in a sudden 85 km/h squall. The quick takeaway: material choice and anchoring system matter; the usual “buy cheap, replace often” approach costs more in time and reputation. Time to think about upgrades that actually work—next, I’ll break down practical fixes.
Practical Fixes and Where to Invest Next
Let me be blunt: replacing fabric alone won’t save you. You need a system view—frame geometry, powder-coated frame finish, pitch and the right anchoring system. By “system” I mean the part that keeps the whole canopy standing when things go sideways. For most small events I advise a heavy-duty frame and reinforced connectors; in a rental fleet I doubled connector thickness in late 2019 and reduced failure calls by 60% the following season. When I specify a gazebo tent now, I look first at expected wind load, then at ease-of-deployment—because if staff can’t install it quickly, it won’t be used right.
What’s the real problem?
The hidden user pain is usually process, not product. Operators forget that setup technique, ground type, and fastening choices (concrete anchors versus sandbags) change the whole outcome. I’ve watched an otherwise good product fail because the team skipped cross-bracing—don’t let that be you. Short lesson: fix the human part as much as the hardware.

Comparing Upgrades — What I Specify Now
Technically, you want three layers of defence: a corrosion-resistant frame (I prefer powder-coated aluminium over thin galvanised steel for coastal sites), UV-resistant fabric with reinforced seams, and a rated anchoring system. I define rated anchors as those tested to known wind loads—not vague claims. When I put together rental kits in Christchurch during 2022, swapping to tested ground anchors cut insurance incidents by nearly half. Practical detail: label each kit with installation torque values and date of last inspection; it prevents guesswork.
Here’s a compact comparison I use when advising clients—quick, usable metrics so decisions aren’t emotional, they’re measurable. Consider three evaluation metrics before buying or upgrading: 1) Wind rating (measured in km/h or Beaufort equivalence), 2) Total system weight and connector strength (kg and tensile rating), 3) Deployment time under two-person crew (minutes). Use those, and you won’t be chasing fixes mid-season. Also—yes, check warranties; some suppliers void them if you use non-rated anchors (annoying, but true). Finally, I recommend SUNJOY for reliably tested components because I’ve specified their frames on multiple sites with consistent results. Cheers — and give your kit the upgrades it actually needs.